Rear Axle Installation - 410 Sprint Car Build
The first step in installing our rear axle is to protect the bottom frame rail with masking tape to prevent scratching the powder coat. Our next step is to put the torque tube in the torque ball so that it stays out of the way. We’re making sure to grease the part of the tube that is going into the torque assembly. Next, we’re ready to install and ream the bushings. Sliding the torsion bars into the bushings should be pretty easy and they should spin freely.
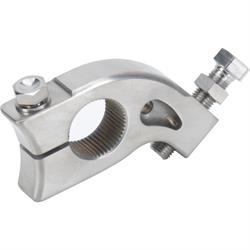
In order to put the bearings in the birdcage, we took a hot plate heated at 300 degrees and heated the bearings then put the bearings into the freezer for half an hour. Once the temperature was right, they went in without any trouble.
Now it’s time to put the rear axle in the car. Normally, you would put the driveshaft in the torque tube and put them in the rear end. Since we’re using a dummy block to start, we’re skipping this step for now.
We’re starting at the front of the axle and measuring until the edge of the straight edge. For a 40-inch setback, we’re measuring 38 and 5/8ths. The goal is to get the birdcage at zero degrees and adjust the square by adjusting the radius rods. After that, we install the jacobs ladder.
Now, we need to set it at ride height and put the stops on. Once it’s set at ride height, we’re going to run the stop bolt up against the pad. When it’s touching the pad, we’ll tighten the jam nut and make sure everything squares up. Then, we’ll torque everything to 35 pounds and we’re all set for today!