Simple Guide to Improve the Handling of Your Vehicle
Does your vintage mustang, comet or falcon have sloppy steering? Are some of the replacement parts hard to find or expensive? Maybe all you need is a push in the right direction. Replacing worn steering components could be one the fastest ways to improve the handling of your vehicle. Fixing it is dead simple.
I started off by removing all the steering on my comet. I removed tie rods, center link, and idler arm, leaving the pitman arm still bolted to the steering box. This was a little more difficult than I would have liked. Surprisingly enough, 50-year-old cotter pins don’t come out very easy. So, after having to use a punch and hammer and a drill I finally got all of the cotter pins removed and all that was left was to get the castle nuts off. For this I used an electric impact. Work smarter not harder as they say. This quickly removed all the remaining castle nuts holding the components to the car / spindle. After getting everything removed I laid them out and measured the center to center on the center link and right and left tie rod assemblies, this will be important later.
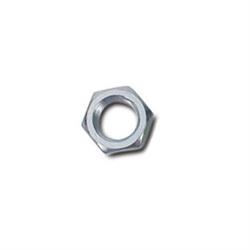
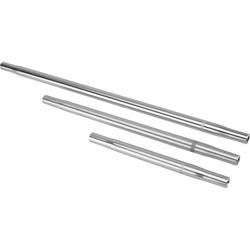
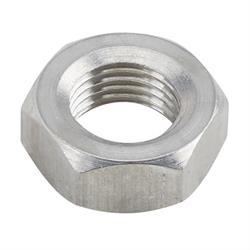
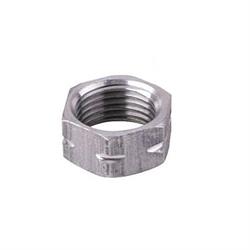
After that I started off by giving the pitman arm a thorough cleaning then masking and painting the pitman arm and new idler arm pt#91032350 (specific to the 6-cylinder mustang falcon and comets), after drying I installed the idler arm in the vehicle. The next bit of fun would be replacing the center link, now since speedway doesn’t offer a direct replacement for the center link and a new reproduction is over $125 I decided to make my own so to speak. This little trick I’m about to perform only works on the 6-cylinder versions of the mustang and falcon/comet pre-65’. I started off by getting and extra inner tie rod end and outer tie rod end pt# 91032321 & pt# 91032322. Then I got a steel swedge tube, pt#91034212-19, 19 inches long. I got it 19 inches because the original center link was 24 inches center to center and going with the new style I wanted to leave roughly 5 inches to install the tie rod ends and jam nuts. I also got the left jam nut and right jam nut pt#10610144 & pt#10610145. I assembled this setup and make sure that the centers on the two joints were 24 inches like the original and locked the jam nuts down as tight as I could, having done this and knowing that they will never have to move again I welded the nuts to the tie rod ends and welded the swedge tube to the nuts to know 100% that they will never come loose. Then I installed the new “center link” and torqued the castle nuts in place also installing cotter pins.
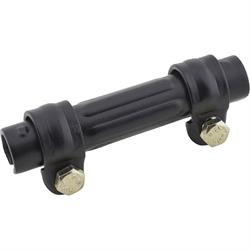
Then I moved onto the tie rod ends. This is a simple assemble and install procedure if you have a 64’ or later mustang, comet, falcon using tie rod sleeve pt#91032335 for manual steering and pt#91032214-4 tie rod sleeve for power steering. However, I have a pre ’64 model year meaning that the length of my adjustment sleeves is longer than the later models. So, I once again made my own. I started with pt#910350-6.5 swedged tube as the length of my adjustment sleeves was 6.5 inches. My short comings quickly became evident to me as I didn’t account for the width of the right jam nut pt#3159600 & left jam nut pt#3159601. This little issue was quickly fixed by loping off roughly 3/8” off each end of the swedge tube to make room for the jam nuts. I ran a tap back through them after cutting them to the now “correct” length and they were right as rain. Repeat for the second side and I was done.
I matched the original length of my tie rod assemblies when setting length. This is to just be able to get the car down the road and immediately to an alignment shop. I went around and double checked all the nuts and greased the joints while I was at it. DO NOT attempt to drive the vehicle without making sure all components are correctly torqued and tightened. Take to your choice of alignment shop, have the front end aligned and enjoy your new tighter steering in your vintage ford.

